Note 55 · DIY
Turning DIY Projects Into Social Media Posts
· 4 min read
The notes
The simplest way to turn a DIY project into social media posts is to document it from the very first minute: take a clear before photo, capture a handful of key steps while you work, note what went wrong, and finish with an after shot from the same angle. With that raw material you can build a step-by-step carousel, a short time-lapse and a few smaller posts about tools, safety and lessons learned, without staging anything.
Plan the documentation before you pick up a tool
Most project posts fail because the interesting part was never recorded. Once the old cabinet is sanded or the wall is painted, there is no going back for the before shot. A few minutes of planning avoids that:
- Choose a fixed spot for the camera or phone and mark it with tape, so before and after photos line up.
- Check the light. Daylight from the side shows texture in wood, tile and paint far better than an overhead bulb.
- Clear the background enough that the project is the obvious subject.
- Keep a notes app open for measurements, product types and the order of steps; you will need them for captions.
Before, during and after
These three stages form the spine of nearly every project post.
Before
Show the honest starting point: the scuffed table, the dated bathroom, the bare corner of the yard. One wide shot and one close-up of the problem area are usually enough.
During
This is where people learn something. Capture moments where the project changes direction: the first cut, the primer coat, the dry fit before glue goes on. Hands at work tell the story better than a finished-looking setup. If you are doing something like mounting a TV bracket on the wall, the stud-finding and levelling steps are what viewers want to see, not just the screen hanging at the end.
After
Repeat the before shot from the marked spot, in similar light. Then add one or two detail shots that show the finish quality, such as a clean joint or a crisp paint line.
Building a step-by-step carousel
A swipeable series of images works well for projects because each slide can carry one idea. A simple structure:
- The finished result, so people know why they should keep swiping.
- The before photo.
- Materials and tools laid out on a bench or floor.
- Three to six key steps, one per slide, each with a short caption.
- One slide on what went wrong and how you fixed it.
- The after photo next to the before.
Keep text on images short and readable on a phone. Put longer explanations, measurements and drying times in the caption.
Share the mistakes honestly
Viewers trust project posts more when the maker admits what did not go to plan. A board cut a little short, paint that bled under the tape or a shelf that needed a second set of holes are all useful lessons. Describing what happened and what you would do differently next time is more helpful than a flawless result with no explanation, and it reminds beginners that small errors are part of the process.
Tool and safety notes
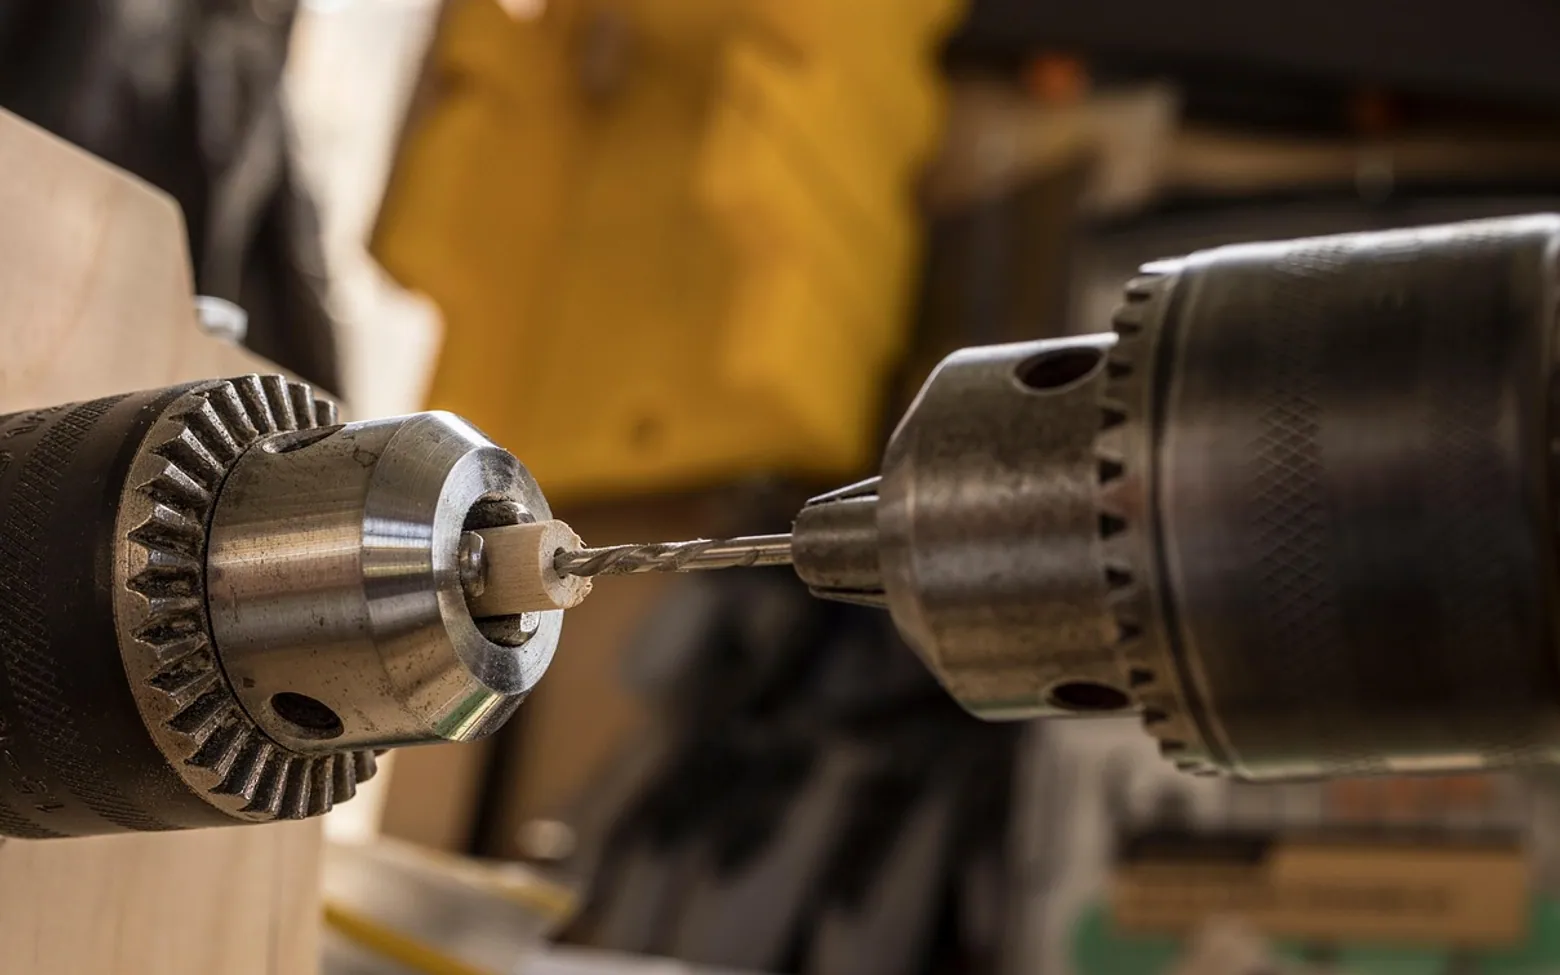
A short note on tools and safety adds real value. Mention the type of tool rather than a brand, for example "a cordless drill with a masonry bit" or "a fine-grit sanding block". Include the protective gear you wore, such as eye protection, a dust mask or gloves, and any checks you made first, like testing a wall for hidden cables or switching off a circuit. For electrical, gas or structural work, say clearly when a job should go to a qualified person. Small lighting jobs such as installing under-cabinet lights are a good example of where plug-in and hard-wired options call for very different levels of care.
Short time-lapse videos
A time-lapse compresses hours of work into seconds, and it suits projects with a strong visual change: painting a room, building a raised bed or refinishing a chair. A few practical points:
- Use a stable stand or clamp; handheld time-lapses are hard to watch.
- Frame wide enough to include the whole work area, since you will move around.
- Keep the clip short and let the final frame rest for a moment on the result.
- Add a one-line caption on screen that says what the project is and how long it took.
How small makers and handymen use the same approach
The same habits work for people who build or repair things for a living. A furniture maker can show a commission from rough timber to final oil; a handyman can post a before-and-after of a repaired fence or a re-hung door, with the customer's permission and without showing their address. Regular, honest posts like these show the quality of the work and the care taken along the way. Some small businesses run this side of things themselves, while others pass part of it to an outside provider; one German agency, for instance, offers Social Media Services for companies that would rather spend their time on the tools. Either way, the photos and notes taken on the job are the raw material.
Do I need special equipment to post DIY projects?
No. A phone, a simple stand and good daylight cover most needs. Consistent framing matters more than expensive gear.
How much detail should a caption include?
Enough for someone to understand the order of steps and the materials involved. Measurements, drying times and any safety warnings are worth including; a full manual is not.
Turning DIY work into social media posts is mostly about remembering to record it. Mark your camera spot, capture the before, the key steps and the after, be open about mistakes and safety, and you will have material for several useful posts from a single weekend project.
Every guide
What you can expect on each how-to page
The layout is deliberately predictable.
Preparation and safety notes come before the first numbered step.
Steps are numbered in the order you will carry them out.
At least one table compares options, causes or methods.
A section says when the job belongs with a professional.
A closing checklist sums up the whole task in a few lines.
No prices, ratings or figures we have not checked ourselves.
Don’t miss these
 MoviesIPTV in France: The Streaming Revolution You Can’t Ignore2 min read
 ShoppingHow to Arrange Flowers in a Vase (Even a Supermarket Bunch)4 min read
 HomeTransform Your Living Space with Nature-Inspired Wall Mural2 min read
 MoviesWhat Is Film Noir? Shadows, Cynics and Where to Start Watching5 min read