Note 12 · Home
Transform Your Living Space with Nature-Inspired Wall Mural
· 2 min read
The notes
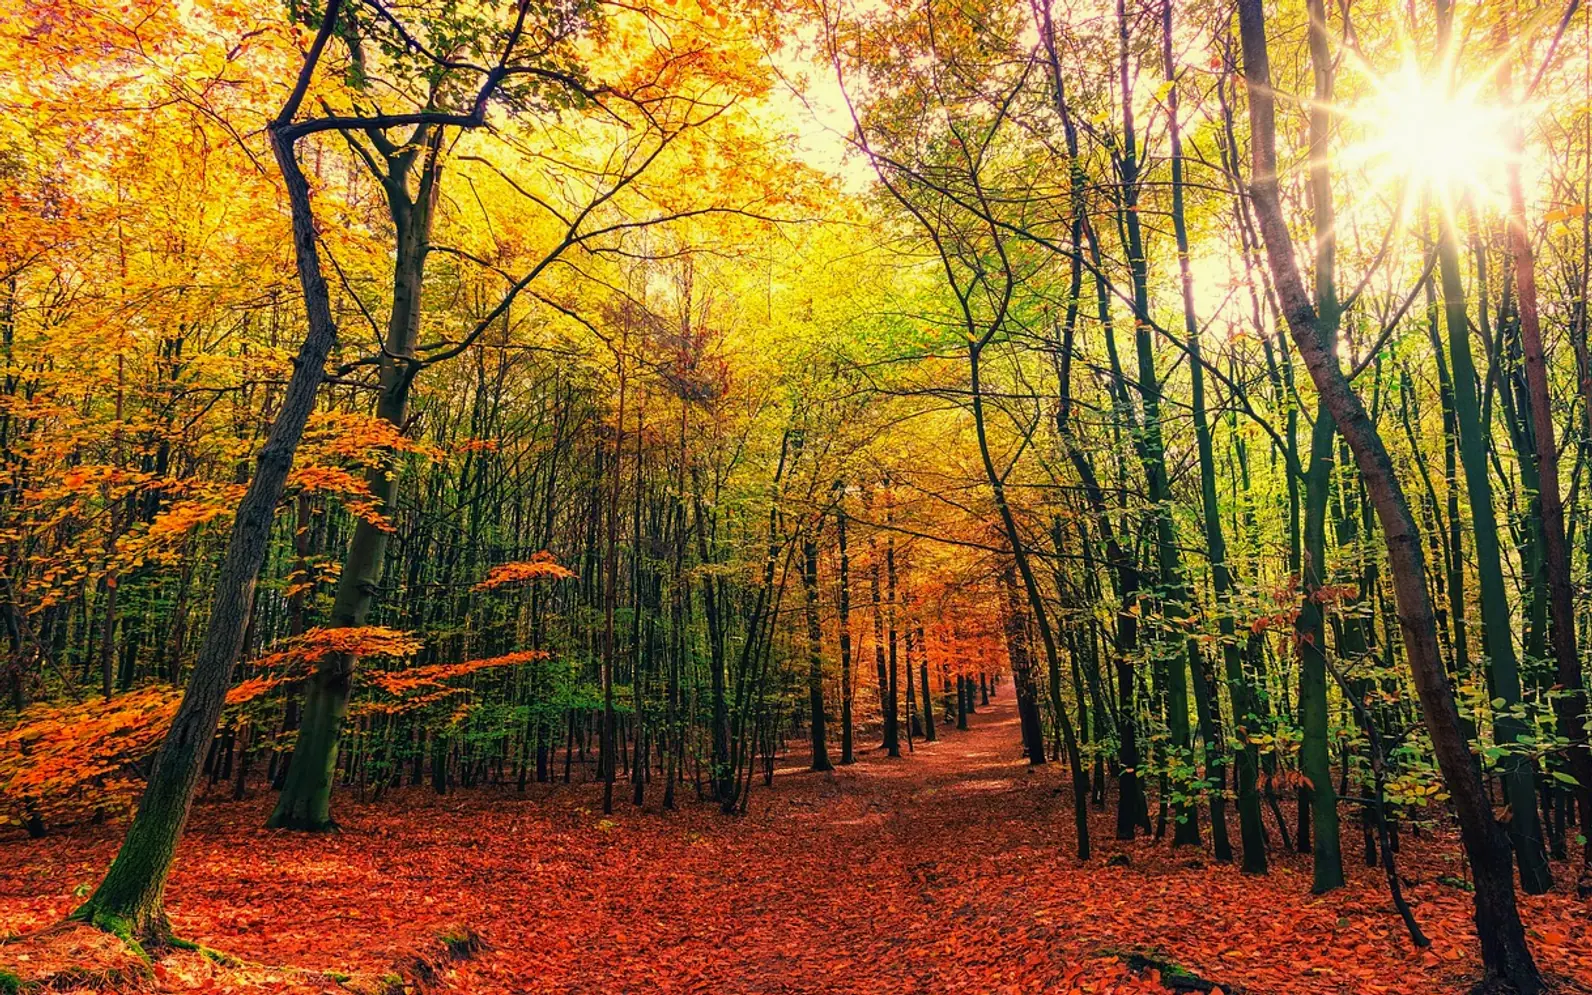
Some rooms feel closed in no matter how they are furnished. A nature-themed mural can change that in an afternoon, adding depth to a flat wall and bringing in colours that rarely appear on paint charts: the layered greens of a pine forest, the soft grey-blue of a misty coastline, the pale gold of a meadow at dusk.
Matching the scene to the room
Each landscape creates its own atmosphere, so it pays to think about how a room is used before choosing.
- Bedrooms: muted forests, foggy hills or pale botanical prints keep the mood quiet behind a headboard.
- Living rooms: wide panoramas such as mountain ranges or lakes give the eye somewhere to travel and suit a long wall behind a sofa.
- Home offices: a calm, uncluttered scene works best on the wall facing the desk or as a backdrop for video calls.
- Hallways and stairs: vertical designs like tall trees or bamboo stress the height and make a narrow space feel intentional.
- Children's rooms: jungle leaves, watercolour woodland and illustrated animals tend to outlast character themes.
Scale, colour and perspective
Large elements, such as oversized leaves or close-up branches, make a small room feel bolder, while distant views with a low horizon tend to open it up. Pull one or two colours from the mural into cushions, throws or plant pots to tie everything together. If the furniture is already patterned, a softer, almost monochrome landscape avoids visual noise.
Why self-adhesive murals suit most homes
Traditional wallpaper murals need paste, patience and often a decorator. Peel-and-stick versions have made the idea far more approachable. An adhesive wall mural can be positioned, lifted and repositioned while hanging, which forgives small mistakes, and many designs come away later without harming the paint underneath. That flexibility makes them a natural fit for renters and for anyone who likes to refresh a room every few years.
Hanging it neatly: a short routine
- Clean the wall, and give fresh paint enough time to cure before applying anything.
- Measure the wall and mark a vertical guideline with a spirit level or plumb line.
- Lay the panels out on the floor in order to check that the image lines up.
- Expose only a hand's width of the backing paper, then work out air bubbles from the middle toward the edges using a soft squeegee.
- Trim the edges at the ceiling and skirting with a sharp blade, swapping blades often.
Two pairs of hands make the job easier, especially for the first panel, which sets the alignment for all the others.
Living with the mural
Good lighting brings the scene to life: a warm lamp grazing a forest print adds depth in the evening, while daylight keeps coastal blues crisp. Real plants placed in front of a botanical design blur the line between picture and room. With a little planning, one wall can make the whole space feel more relaxed and closer to the outdoors.
Every guide
What you can expect on each how-to page
The layout is deliberately predictable.
Preparation and safety notes come before the first numbered step.
Steps are numbered in the order you will carry them out.
At least one table compares options, causes or methods.
A section says when the job belongs with a professional.
A closing checklist sums up the whole task in a few lines.
No prices, ratings or figures we have not checked ourselves.
Don’t miss these
 MoviesIPTV in France: The Streaming Revolution You Can’t Ignore2 min read
- HomeTransform Your Living Space with Nature-Inspired Wall Mural2 min read
 MoviesWhat Is Film Noir? Shadows, Cynics and Where to Start Watching5 min read
 HomeWhy Flea and Tick Control Shouldn’t Be Ignored — Even Without Pets2 min read